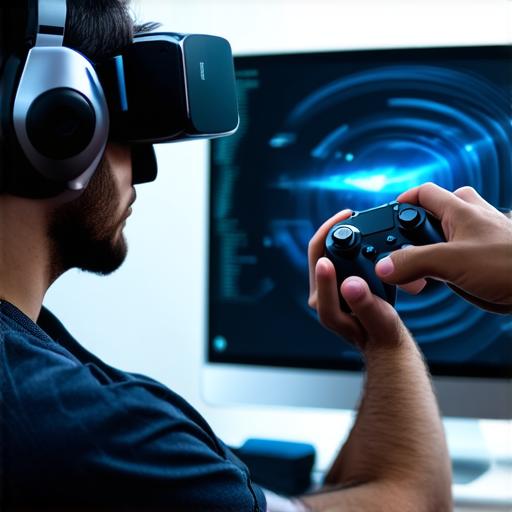
Are you interested in creating immersive virtual reality experiences? If so, then you’re in luck! With Unreal Engine, you can easily create stunning and interactive VR environments.
Setting Up Your Development Environment
Before you start creating VR experiences with Unreal Engine, you’ll need to set up your development environment. Here are the steps you can follow:
- Download and install Unreal Engine from the Epic Games Launcher. Make sure you have the latest version of the engine installed.
- Create a new project in Unreal Engine. You can do this by clicking on "File" > "New Project" in the main menu.
- Choose your project settings. For VR development, you’ll want to select "VR" as the project type and set the resolution of your VR headset.
- Select a template for your project. Unreal Engine offers several templates that include pre-built environments and assets that you can use in your VR experiences.
Creating Your First VR Scene
Now that you have your development environment set up, it’s time to start creating your first VR scene. Here are the steps you can follow:
- Open your project in Unreal Engine.
- In the "Content Browser," you’ll see a list of all the assets and objects in your project. You can add new objects by right-clicking in the content browser and selecting "Add" > "Blueprint Class."
- Create a blueprint class for your VR scene. You can do this by right-clicking in the content browser and selecting "Create New Blueprint Class." Give your class a name and select "Virtual Reality Scene" as the parent class.
- Add objects to your VR scene. You can do this by dragging objects from the content browser into your scene. For example, you could add a character, some furniture, and some props.
- Position and scale your objects. Use the tools in the "Transform" panel to position and scale your objects as needed. Make sure your objects are properly aligned with the VR headset’s field of view.
- Add lighting to your scene. Lighting is an important aspect of creating immersive VR experiences. You can add light sources by dragging them from the content browser into your scene.
Adding Interactivity to Your VR Experience
Now that you have your VR scene set up, it’s time to add some interactivity to your experience. Here are the steps you can follow:

- Create a new blueprint class for your interactive objects. You can do this by right-clicking in the content browser and selecting "Create New Blueprint Class." Give your class a name and select "VR Interactable" as the parent class.
- Add interaction to your objects. You can do this by adding event graph nodes to your blueprint class. For example, you could create an event that triggers when the user interacts with an object.
- Create animations for your interactive objects. Animations are a great way to add visual feedback to your VR experience. You can create animations using the "Animator" tool in Unreal Engine.
- Add sound effects to your VR experience. Sound effects are another important aspect of creating immersive VR experiences. You can add


