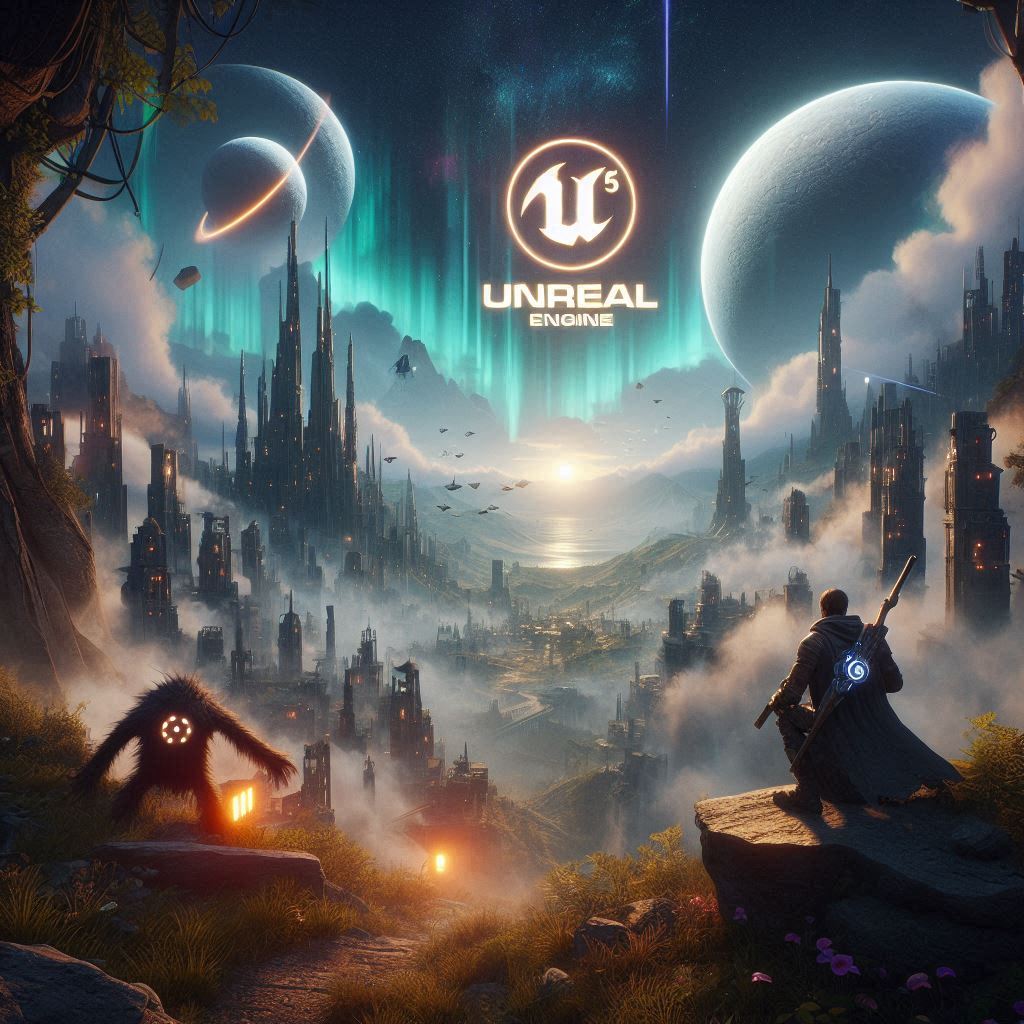
Introduction: What is the Unreal Engine?
The Unreal Engine is a real-time 3D creation toolkit that has been used by professionals and hobbyists alike for years. It offers a wide range of features and capabilities, including advanced graphics rendering, physics simulation, animation tools, and scripting support. With the Unreal Engine, you can create anything from simple mobile games to large-scale, open-world adventures like Fortnite or Red Dead Redemption 2.
Getting Started: Setting Up Your First Project
Before you dive into game development, you’ll need to set up your first project in the Unreal Engine. The process is relatively straightforward and can be broken down into a few simple steps:
- Download and install the Unreal Engine: You can download the latest version of the Unreal Engine from the official website (https://www.unrealengine.com/). Be sure to choose the appropriate installation option based on your computer specifications.
- Create a new project: Once the Unreal Engine is installed, open it up and click on “File” > “New Project.” You’ll be prompted to name your project and select a location on your computer where you want to save it. Choose a descriptive name that reflects the type of game you plan to create.
- Select a template: The Unreal Engine offers several templates that you can use as a starting point for your game. These include 2D platformers, first-person shooters, and more. Selecting a template will give you a basic structure to build upon, including pre-populated assets and script files.
- Customize your project: Once you have a template set up, it’s time to start customizing your project. This might involve adding new assets, modifying existing ones, or writing custom scripts to create unique game mechanics. The sky is the limit when it comes to what you can do with the Unreal Engine, so don’t be afraid to experiment and try out different ideas.

Creating Your Game World: Building Levels and Environments
Now that you have your project set up, it’s time to start building your game world. The first step in this process is to create levels and environments for your game. Here are a few tips to get you started:
- Start with a basic layout: When designing your levels, it’s important to start with a basic layout that includes key elements like terrain, buildings, and obstacles. This will give you a starting point to build upon as you add more detail and complexity to your world.
- Use assets from the content library: The Unreal Engine comes with a vast library of assets that you can use in your game. These include everything from pre-made terrain tiles to detailed character models and animated textures. By using these assets, you can quickly create a visually appealing game world without having to spend hours creating everything from scratch.
- Pay attention to lighting and atmospheric effects: Lighting and atmospheric effects are crucial components of any game world. They can help set the mood and atmosphere of your game, making it feel more immersive and believable. Experiment with different lighting schemes and atmospheric effects to find the ones that work best for your game.
- Build iteratively: Game development is an iterative process, meaning that you’ll often need to make changes and adjustments as you go along. Don’t be afraid to build levels and environments quickly and then refine them later on. This will help you stay flexible and adaptable as your game evolves.
Programming Your Game: Writing Code in Blueprints or C++
In addition to creating your game world, you’ll also need to write code to control the behavior of your game. The Unreal Engine supports two programming languages: Blueprints and C++.
Related Posts
Unreal Game Development Services by ServReality
Exploring Multiplayer Game Development with Unreal Engine 5: A Comprehensive Guidebook
