Unreal Engine is an incredibly powerful game engine that allows developers to create stunning and immersive games with ease. However, mastering game development using Unreal Engine can be a daunting task for beginners. In this guide, we will take you through the basics of game development using Unreal Engine, as well as some advanced techniques that will help you take your skills to the next level.
Introduction
Before we dive into the world of game development with Unreal Engine, let’s first understand what a game engine is. A game engine is a software framework that provides developers with the tools and resources they need to create games. It includes everything from graphics rendering and physics simulation to networking and user interface design.
In this guide, we will cover the following topics:
- Setting up a development environment with Unreal Engine
- Creating your first game in Unreal Engine
- Advanced techniques for game development with Unreal Engine
- Real-world examples of games created using Unreal Engine
Setting Up Your Development Environment
Before you can start creating games with Unreal Engine, you need to set up your development environment. This involves installing the engine and configuring it to work with your computer’s hardware and software.
Here are the steps to get started:
- Download and install Epic Games Launcher. This is a free download from the Unreal Engine website.
- Open the launcher and log in using your Epic Games account. If you don’t have an account, you can create one for free.
- Once you are logged in, click on the “Install” button to download and install Unreal Engine. This will take a few minutes, depending on your internet connection speed.
- After the installation is complete, open Unreal Engine by clicking on the “Unreal Engine” icon in your start menu or application launcher.
- In the Unreal Engine editor, you can create new projects, load existing projects, and access the documentation and tutorials provided by Epic Games.

Creating Your First Game
Now that you have set up your development environment, it’s time to start creating your first game in Unreal Engine.
Here are the steps to get started:
- In the Unreal Engine editor, click on the “Create Project” button. This will open a dialog box where you can choose the type of project you want to create.
- Select “2D Platformer” from the list of available templates. This will create a new project with all the tools and resources you need to start building a 2D platformer game.
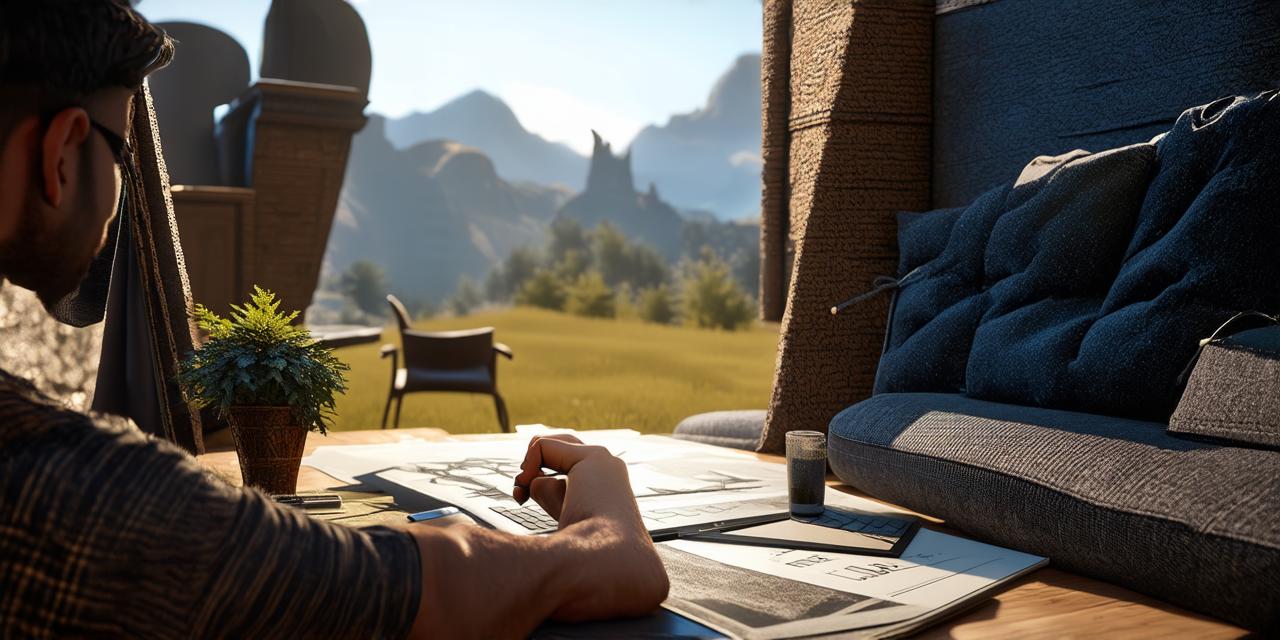
- Once your project is created, you can start designing your game by adding assets and creating levels. Unreal Engine comes with a built-in asset store where you can find pre-made assets like characters, backgrounds, and sound effects. You can also import your own assets from other software packages or file formats.
- To create levels, you can use the “Blueprint” system in Unreal Engine. Blueprints are visual workflows that allow you to create complex game logic without writing code. By dragging and dropping nodes and connecting them with wires, you can create interactive scenes and gameplay mechanics.
- Once you have designed your levels, you can add gameplay elements like enemies, collectibles, and power-ups. You can also create animations and particle effects to make your game more engaging and immersive.
Advanced Techniques for Game Development with Unreal Engine
Now that you have created your first game in Unreal Engine, it’s time to take your skills to the next level by learning some advanced techniques. Here are a few tips to get you started:
- Use scripting: While Blueprints are great for creating simple game logic, they can be limiting when it comes to more complex tasks like AI or networked games. In these cases, you can use C++ scripting to write custom code and take control of your game’s behavior.
Related Posts

Unreal Game Development Services by ServReality
Exploring Multiplayer Game Development with Unreal Engine 5: A Comprehensive Guidebook
